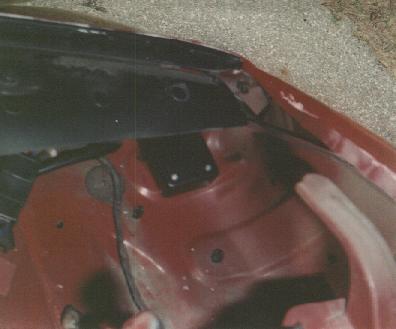
Installing the black box. The headlight assembly has been removed for illustration purposes only.
Now install the black boxes in the car close to each headlight. First decide on a good mounting location. If you unscrew your parking lights you will notice a lot of unused available space behind them. I mounted mine well forward of the headlights, right behind the parking lights. This makes installation more tricky, but the final product will be less visible. Be sure that the wiring and connections will not interfere with the headlights, (including the plastic shrouds behind them,) with the actuator mechanism in either the up or down position. Also have a plan for tying down the connectors with the black box NOT installed.
But first about the orientation of the boxes: The boxes should be mounted such that the relay movement is not vertical. If it is mounted in this direction, each bump encountered will simulate the relay being energized/de-energized causing the headlight(s) to cycle up and down. As long as the box is built as directed the only way this can happen is if the box is installed with the 1" X 3" sides mounted horizontally. Avoid that position.
Make sure that wherever you locate the black boxes, all connections will reach, and no parts will interfere with proper headlight operation.
Before testing the system, temporarily install the black boxes with foam tape. After the system is fully tested and operational, the black boxes can be easily removed and additional adhesive can be added to both sides of the foam tape for a more permanent installation (I used Permatex brand Super Weather-strip Adhesive but I hear that 3M brand also works well.) Be sure to clean all surfaces prior to installation, and follow the instructions on the tube
Raise the headlights and de-energize the circuit. Remove the headlight bezel (the plastic shroud around the headlights, held on by 4 screws) for better access. Install the black boxes as desired.